
Christmas is right around the corner and I have way more crafts than time to do them in! Can you relate?
While eating a toaster oven s'more a great idea for another craft hit me! I have seen it before but had forgotten about it and haven't seen a tutorial for it. State maps with the hearts on special places is a sweet and personal gift and I can do it with my home printer or send it to a lab and have it in an hour. It was boosted to the top of my list. And now I can share it with you! It takes more time to write it than it does to make it!
I don't think most of my sister-in-laws even remember I blog since I just began to "for reals" this past October. So, I think I am safe! :o)
Here is the link to printable state maps:
http://www.printablemap.net/printable-usa-state-map.html
To make an 8x10 of the map in a color of your choice:
Just click on the states that you need one your left side of the screen.
Copy the image.
Open Photoshop, or your equivalent of it, and create a new 8x10 photo document. (In Photoshop hit Ctrl+n or Apple+n and select photo 8x10 portrait)
Paste the image onto the document (Ctrl+v or Apple+v).
Free Transform it to the size of the document (Ctrl+t or Apple+t hold the shift key down as you adjust the size in order to maintain the same proportions that the state should have.)
In the tool bar select the "magic wand tool." Click in the middle of the state. The outline of the state will have been selected.
Go to the "layers" box and click on "background."
Go to your tool bar again and select a color you would like for the state to be by double clicking on the top color square at the bottom, then select the "paint bucket tool."
Place the bucket in the middle of the state and left click.
Go to the "layers" box again and delete the state outline layer. Your state will be visible in the color you chose on the background layer.
If you want to change the color just select a new color and click the "paint bucket tool" in the middle of the state again.
If you want to change the background color right click and click on "Select Inverse." Then change you color to what you desire in the paint swatches and click the bucket on the outside of the state.

Here is the font I downloaded to make my heart:
http://www.dafont.com/mwheart.font
I used the L key 48pt.
To put the heart on select "typing" (it's a big T) in the tool bar. Then select "mwheart" in the fonts section along the top of the work area. Left click it to where you would like and type. Make sure to select a new color in the color swatches or you won't see it.
I know that this tutorial will be very obvious to many of you, but when I was learning how to use Photoshop 10 years ago I would have loved some hand holding. So if you are as I was, I hope it helps. And if you are an old hand at it, then at least you have the links ready to use!
Have a wonderful holiday fun with those you love!
Here's an easy recipe for a holiday party that will wow them!
Check out the link parties I love and have linked this on!
How sweet! I love this :)
ReplyDeleteThanks! :o)
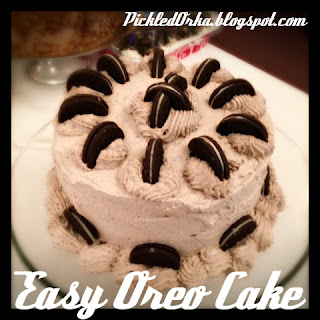
DeleteLove the delicious cake recipe, its quite a beautiful cake... Visiting from the link party
ReplyDeleteMaria
http://www.simplenaturedecorblog.com
Thanks!
DeleteI really like youtube map idea. Can each map be turned into a pillow? We would each have a different state in my house. Ann Marie @ Iris Abbey
ReplyDeleteyou could! I can think of two ways to do it. 1 you could turn it into a mirror image and print it on iron ontransfer paper, to put it on the fabric. Or two, you couldprint it on the wax side of freezer paper and press it to your fabric while the ink is still wet. This will give you a very shabby chicand will not look good permanently like the iron on transfer will, but it'll look awesome for a little while! Iron ontransfers that I have used crack after a while but I like how it looks then as well!
DeleteThese are adorable! I love how simple and elegant they look!
ReplyDeleteThanks!
Delete